

Hey Everyone! I’m back! Well, it sure has been an interesting month. We had our original author leave. Our 1 Year Anniversary. Our Short Story Contest Winners. A new author. And now it’s February already. Well, to kick off this month I decided to start by writing another post for The Art section.
Over Christmas I painted about 6 paintings in about 4 days. It was really insane. But also really special. I got to give each of the paintings to family members from out of town and see their faces light up. It was truly something special.
But, I know that many people don’t feel qualified to paint or draw, and so you might be thinking… “well, that’s great for you, but, I can’t do something like that, so please stop bragging…” Or something along those lines. So, I have decided, for all those people that think they aren’t artistic… It’s time to try again.
So, I know I didn’t say anything about teaching arts and crafts, but I feel that if you’re going to be reading about these things, you may as well know how to do them. I mean, I love writing, but as I’ve told you, some of the best inspiration for me comes from my paintings mixing with God’s creation. And in order for you to get to experience this as well, I am going to walk you through painting. Totally up to you to actually do it, but if you do please either put a picture in the comments or post a note about it and tag me. Because I’d love to see it, and if you aren’t comfortable with those things, no worries, but I promise no one here will judge you.
Step One: Grab Canvas, some tape (scotch tape won’t work, it will pull the canvas off the frame), all the colors of paint (Acrylic) you have in your house, old newspapers, many different paintbrushes, a cup of water (non-drinkable), and a rag or some paper towels. For a Galaxy scene, you will also want a sponge.
Step Two: Spread your newspapers out on whatever surface you will be working on. Set up your paints and paintbrushes.
Step Three: Start Brainstorming, what are some simple ideas you could paint. I’ll give you a couple of my favorite ones here. 1. A Galaxy Sky. 2. A Mountain Scene. 3. Outer Space.
Step Four: Look up a quick video of whatever you decided to do, and just watch it real quick, they are surprisingly effective at inspiring you. Don’t try to copy their painting exactly though.
Step Five: Depending on what you want your painting to look like, Edge the sides with that tape you grabbed. I usually like to do about an inch or so of a border. But a border is not necessary, I simply like the way it looks with one. Make sure to wrap the paint all the way down the sides, just in case something splatters.
Step Six: Choose what Colors you are going to use. For a mountain scene: Will you have a sunset/sunrise? Will it be a deep purply night sky? Will it be a bright sunlight day? What color will your mountains be? Will they stand out against a bright sky as dark and looming? Will they be bright against a night sky? For a Galaxy Scene: What color combination will go best with a black or purply background? What two or three colors really complement each other and would look gorgeous shaded together? For Outer space: What color is your earth going to be? What about for your shooting stars?
This next part changes a bit depending on the type of scene, so just look until you find the one you want.
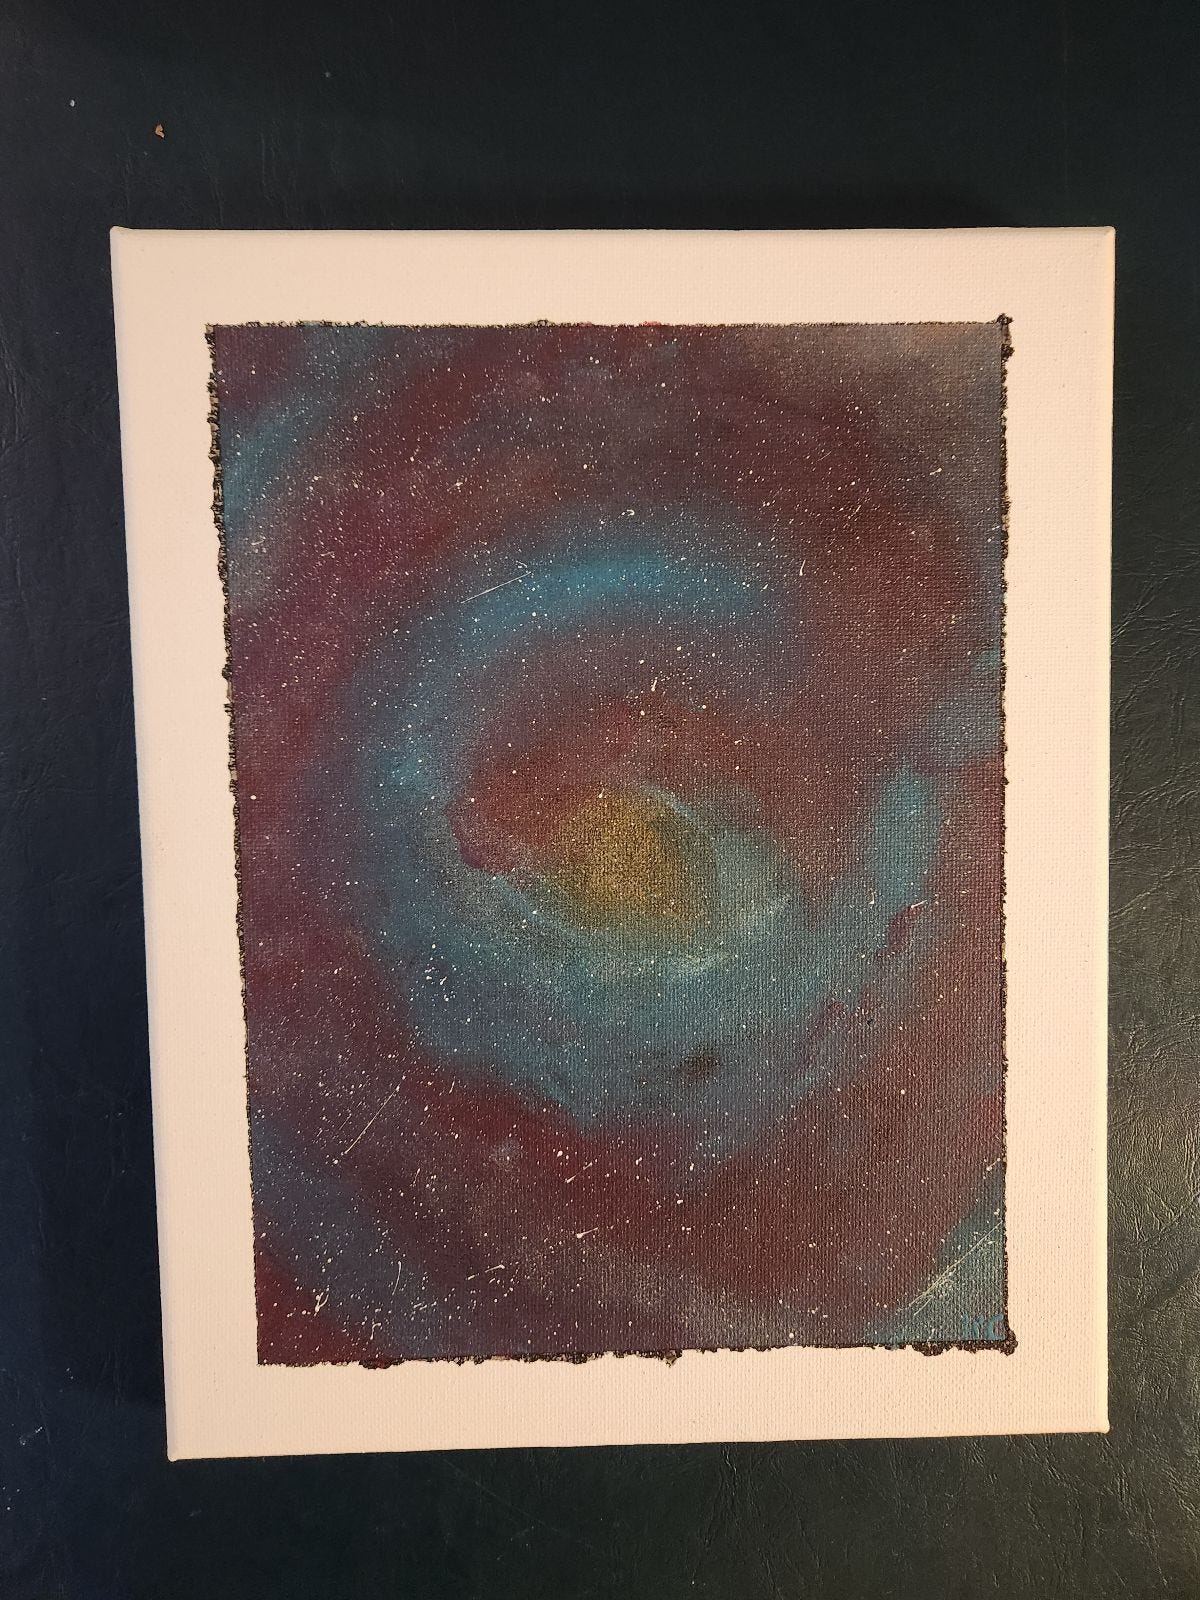
Galaxy Scene: So far, the easiest one. For me that is, it’ll change a bit for everyone though. First step is to paint the background black, or a dark purply blue, whatever color you think the night sky is. Then you are going to take your color picks and just put them down in a spiral. Just a little bit of paint, changing the colors where you want to. That is going to be your pattern. Once you’ve done that, take a sponge, I like using sponges, because it gives it that pattern, but you could use anything. Dip the sponge into a bit of paint and just start patting it down on the canvas following the outline you just made. Switch up colors as you want and make sure to overlap the colors and shade it together. This part is optional, but you could also put a little white or yellow in the middle of your spiral, just shade it in a bit, and use the sponge for this as well.
As soon as you have finished doing that, take a paintbrush, there are a few different ways to do this, but this is the one that works for me. Take your paintbrush and using either your finger or a toothpick, brush the paintbrush with the toothpick over the canvas. It should leave white dots all over, aka stars. You don’t want too many stars, I like a fairly even number across, but it’s totally up to you how you want to do it.
Here is an example:
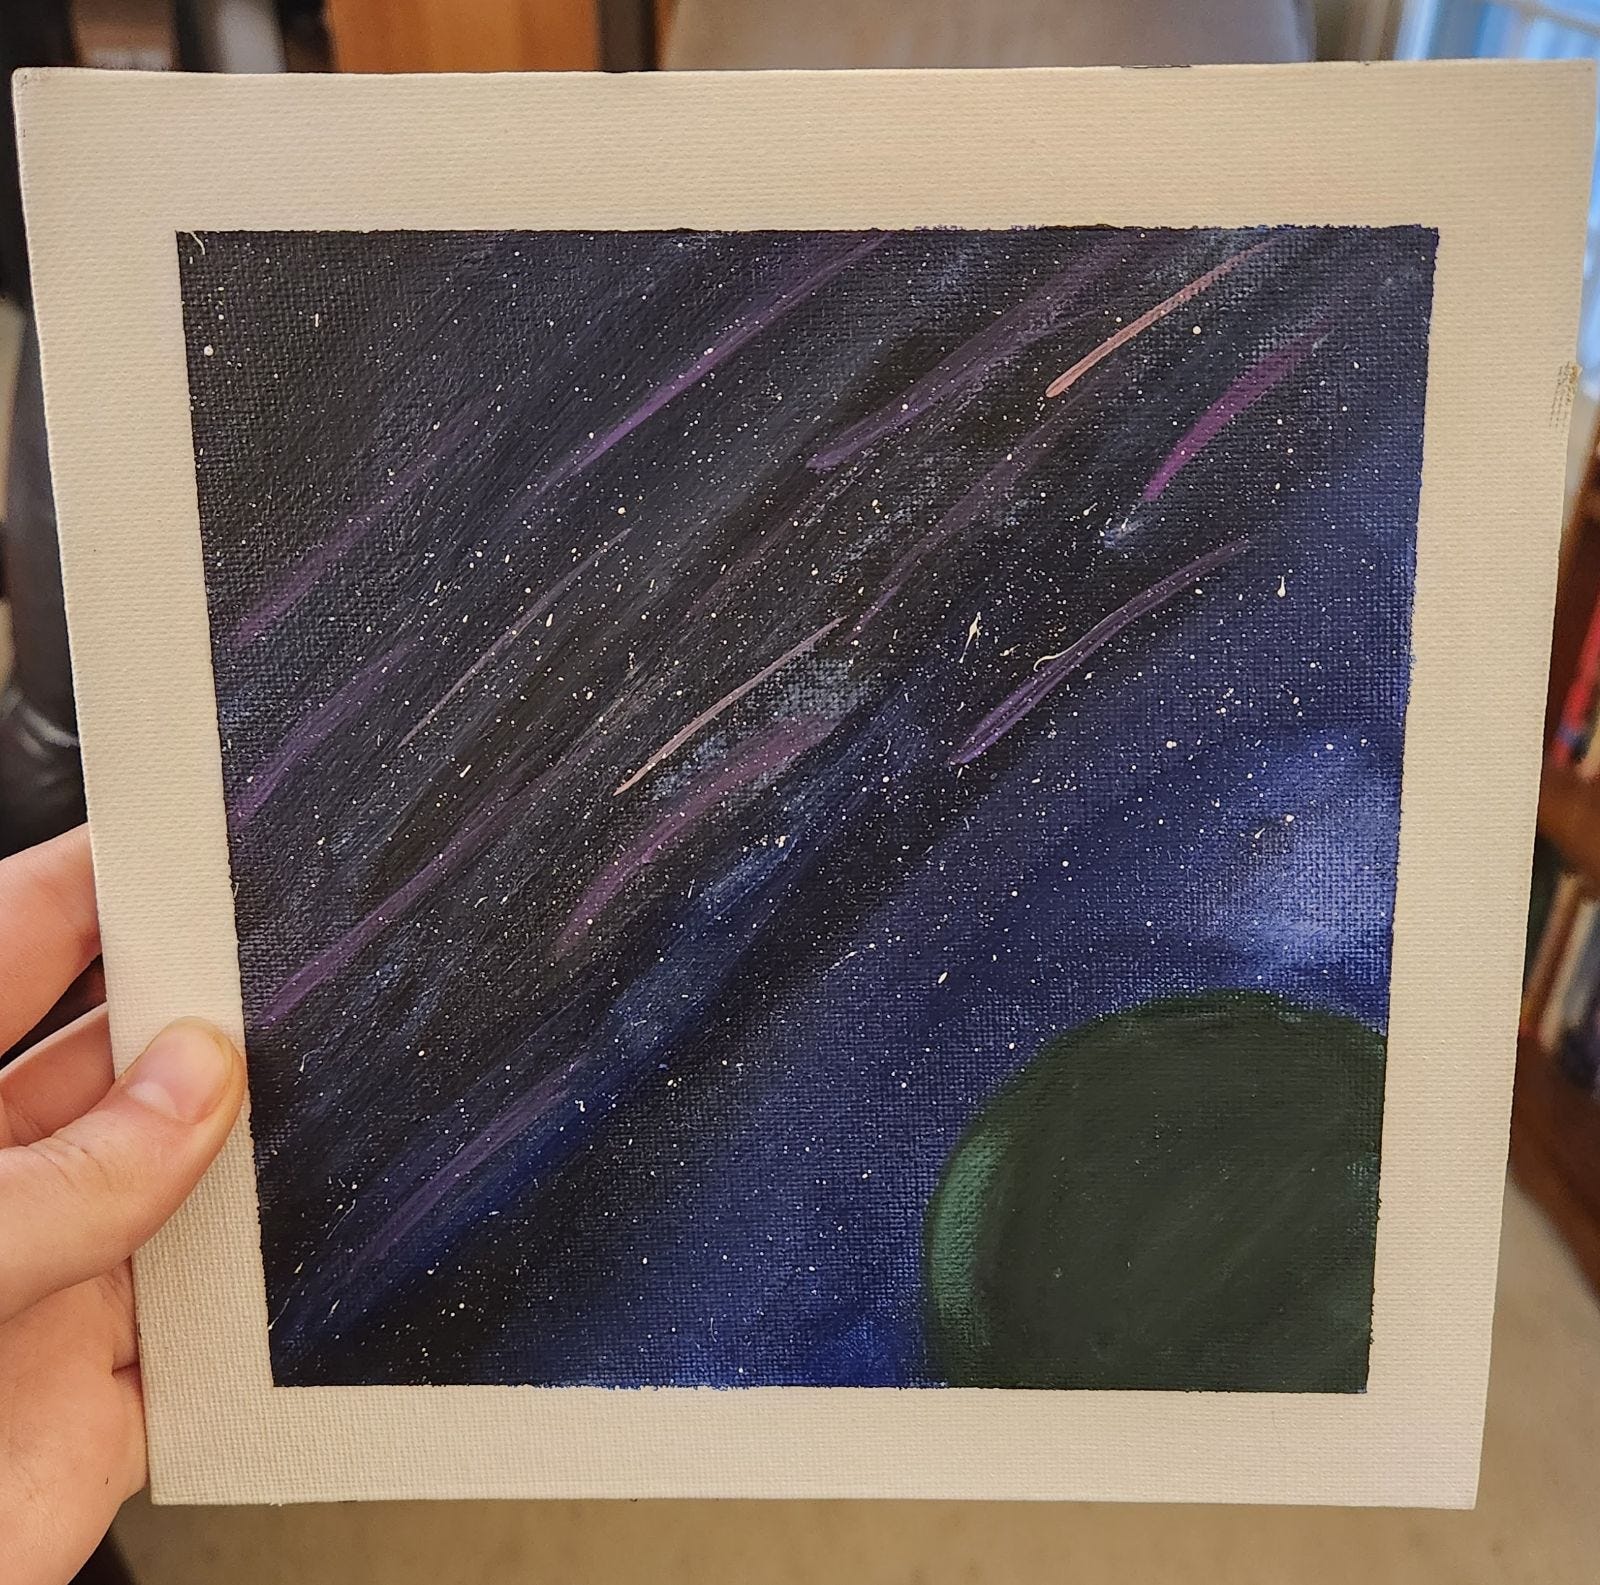
Outer Space: Take your pick of a blue or purple, whatever colors, for your background. Start with the darker color in the upper left corner, moving diagonally, start your brush strokes from the right and go to the left, gradually shade the color down to a lighter shade. Then, before your bottom has fully dried, streak colors, same direction, to get that falling star kind of look. This part is very random, some look amazing, but I usually have to retry a couple of the streaks. Whenever you have to retry a streak, just shade over it with the background color, but don’t be too hard on yourself, it’s frustrated me too.
As soon as you have finished doing that, take a paintbrush, there are a few different ways to do this, but this is the one that works for me. Take your paintbrush and using either your finger or a toothpick, brush the paintbrush with the toothpick over the canvas. It should leave white dots all over, aka stars. You don’t want too many stars, I like a fairly even number across, but it’s totally up to you how you want to do it.
The next step is to take a cup, whatever size you want, and trace around it on the canvas with a pencil. Then fill the circle in with shades of green, you don’t want the circle to be too even so don’t worry if the paint gets a little out of the circle. Make sure to add in a touch of a highlight, so that it looks more like a globe than a circle.
And you are done!
Here is an example:
Unfortunately, I couldn’t do the mountain scene as well, that takes up a fair amount of time, but it’s fairly simple, and there are so many videos all across the internet that will give you many helpful tips.
One very important tip though…
Always do the background first
If you do the front scene first, and then do the sky, trust me, I’ve done it, it doesn’t turn out as well…
I hope you enjoyed the pictures and that I could help you understand simple art. Because I am by no means a professional artist. Thank you for reading!
—
Ken
This might just inspire me to draw/paint again! I used to do a some art when I was younger, but as my pile of schoolwork assignments and interests grew, art got pushed to the background of my life. Thanks for posting this and for sharing those pics! :)
Pretty! Thanks for sharing!